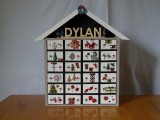
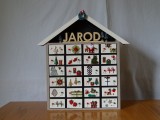
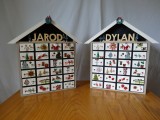
The idea for these advent calendars come from a variety of ideas I got by researching advent calendars online. In particular, an advent calendar I spotted on amazon.com sparked my desire to try and make something similar.
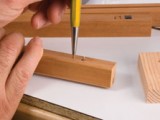
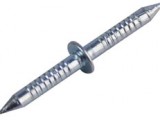
Although they are different to the “Wood Whisperer” advent calendar, the construction of my advent calendar is based entirely on Mark Spagnuolo’s construction method which he details on his website http://thewoodwhisperer.com and I use the same method of using Fascap Blind Nails to mount and hang the doors.
I found the cheapest place to get these is from McFeelys.com. They only charge a $1 for shipping so you can get the insertion tool and 100 nails for around $14.
Tips
1. Use quality materials. I originally started by using 1/2″ birch plywood that I got from the home center. This plywood just has a birch veneer on the outside and is made of soft woods on the inside plys. When you cut dados on opposing sides of your pieces you are left with only 1/4″ or less of material which is not strong enough. I found almost all my cross pieces broke in more than one place and in the end I had to throw all that away and start from scratch with Baltic Birch plywood. The best place to get a small piece of 1/2″ plywood is either from Rockler or from Michaels. It works out cheaper from Michaels as you can often times get a 40% off one item voucher from their website and you can use that for the baltic birch. The only downside with Michaels is that my local store only sells small pieces. So, depending which store you purchase from you may have to purchase 1 to 2 pieces.
2. I used MDF for the compartment dividers. This works well and reduces the amount of baltic birch you need if you are on a budget. However, do not use MDF for the doors. I tried this and found the MDF to be too weak and the doors will split or break at the hinges. Again, purchase a sheet of 1/8″ baltic birch from either Rockler or Michaels.
3. Paint everything before you assemble. It is difficult to paint the doors and spaces between after the calendar is assembled without lots of taping off and multiple touch ups. Paint everything first. The only thing that should not be painted is the joints for glue ups.

