About 2 years ago a saw a pocket hole machine build by another youtube user, the wooden tool company. After having used the Kreg Mini for most of my pocket holes I was frustrated and seeing a home built pocket hole machine was an inspiration to design and build my own.
The issue I had with the original wooden tool company machine was that it was large and being a floor standing unit consumed a lot of floor space, valuable floor space I do not have a lot of seeing that I operate my workshop from a 2 car garage that also shares space with storage cupboards.
My main criteria for the homemade pocket hole machine was that it had to be compact, easy to setup and take down and be able to drill quality pocket holes in mainly 3/4″ and 1.5″ material. I did not want to have to spend any money on buying expensive Kreg alternatives.
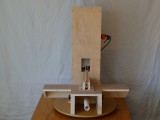
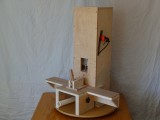
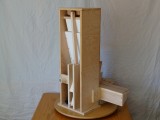
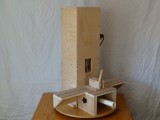
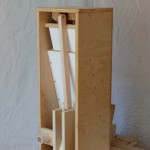
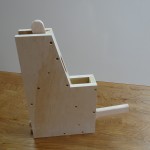
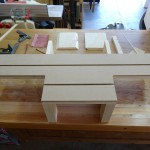
What I came up with is the desktop model you see here. The machine is made up from 2 main pieces, a body that contains the sliding drilling tray angled at 15 degrees and a detachable fence/table on which the material can be mounted for clamping for drilling.
Before I designed and built this machine I used to use the Kreg mini for drilling all my pocket holes. The Kreg mini kit is the cheapest way to get into drilling pocket holes and can be purchased off Amazon for just under $20. The Kreg mini jig comes with the 15 degree drilling guide and a 3/8″ drill bit with stop collar. If you are going to be creating your own pocket hole machine then you just need to purchase the dill bit itself for around $13.
The main issue with this entry level pocket hole jig is that it is cumbersome to use and requires clamping and unclamping the guide in the positions you wish to drill a pocket hole. This is one of the main reasons I build a pocket hole machine as I did not have the money to invest in more costly Kreg jigs which would have made drilling pocket holes over the Kreg mini easier.
In order to secure the workpiece in the drilling position, I designed and built a homemade push/pull style clamp. The clamp works on a cam action and the clamp locks when it is in it’s lowest fully extended position.
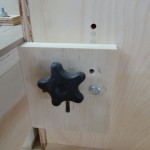
The pocket hole machine consists of an adjustable table which is locked in position by star knobs on either end of the table and one underneath in the front center location. The height of the table and depth of cut can be set to accommodate any size and thickness of material, however, I created positive stop lock positions for 1/2 inch, 3/4 inch and 1 1/2 inch material, which are the only real thicknesses of material that I use. The positive lock is engaged by a simple bolt when the table aligns with the correct position on the main body of the device.
The table has adjustable height legs that can be set at a position which allows the table to rest flat on the work surface to which the machine is attached. This provides more stability to the table, and the machine as a whole, when you are applying downward drilling pressure when using the machine.
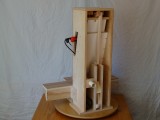
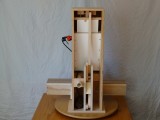
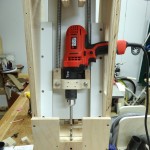
The sliding drilling tray is moved by an arm connected to the lever system. When the lever in the front of the machine is depressed, it pulls the arm down which in turn pulls the sliding tray down resulting in the actual drilling of the pocket hole. 2 springs connected to the sliding tray cause the sliding tray to return to its starting position when the lever is released.
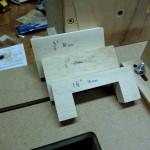
Once the table has been secured at the correct height, for the thickness of material you are drilling, you need to set the depth of cut for drilling the actual pocket hole. In order to do this I created a stop block which is placed on the drilling frame to limit how far the sliding drill tray can travel when drilling. I created standard sizes of stop block for 1/2 inch, 3/4 inch and 1 1/2 inch material. When drilling either of these thicknesses of material, the relevant stop block will be inserted once the table height has been set. So, for example, for 3/4 inch material I would set the 3/4 inch stop block in position to prevent the sliding tray from drilling through the table at the 3/4 inch table height position.
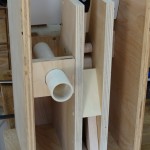
I came up with a simple dust collection system using a standard piece of pvc pipe. The pipe is slightly smaller than 35mm so the pipe was enlarged by heating it with a heat gun until it could be molded over the 35mm dust collection hose fitting. The pvc pipe is connected to an enclosed compartment behind the drilling area so that chips are extracted as you are drilling your material. A small hole through the homemade drilling guide facilities the chip extraction.
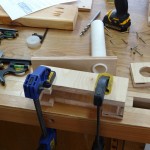
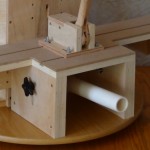
The handle for the machine is also a piece of PVC pipe. When I originally build the machine I underestimated how long the actual lever should be. It turned out to be way too short so I attached a piece of PVC pipe by heating the one end with a heat gun to mold it over the shape of the existing handle. This extra length provides a lot more leverage. One unintended benefit of having a handle like this is that the handle can be detached when stowing the machine away.
The custom built table has homemade T slots. Those slots can be used with 1/4-20 hex bolts or T bolts to secure things such as push clamps or stop blocks. In this case I have attached a home made push clamp but a Bessey push clamp can just as easily be mounted to a plate and secured to the table using the t slots in the same way. In addition, custom stop blocks, or flip stop blocks, can be attached using the T tracks to provide easy ways of setting up identical drilling runs. This is useful if you wish to drill a pocket hole in the same location on many pieces of material.
I have seen other devices on youtube where users have mounted their Kreg jig in an upright position and the material is moved behind while the user manually drills through the jig. Those machines are very clever and allow pocket holes to be drilled very quickly, however, most of these devices rely on a foot operated clamping method which makes for a bulky machine eating up floor space.
Other Pocket hole machines on YouTube



1 Comment